A Sweet Ending to a New Beginning
You know when you keep telling yourself that you’ll learn your mother’s family recipe, but somehow life gets busy and you never do it? 🙋🏼♀️ #guilty
The truth is, your parents/grandparents aren’t getting any younger. I was very fortunate to learn my Nanna’s cucumber salad two weeks before we had to say goodbye to her. 😢 I didn’t want to lose out with my mum, so we set a date last year and did the damn thing!
This is a traditional New Zealand dessert called a Pavlova. It is my absolute favorite dessert in the world! It is so airy and light...part cake, part cloud...the perfect complement to a big dinner! And despite it being a bit labor intensive, my mum makes it for every occasion at our request. ❤️ #makethetimebeforetimerunsout
This year, we were on our own! I’m going to post the recipe below so we always have an electronic version available and to any of my subscribers, you are welcome to copy our family recipe! No secrets here! ❤ Pavs are for the world to enjoy!
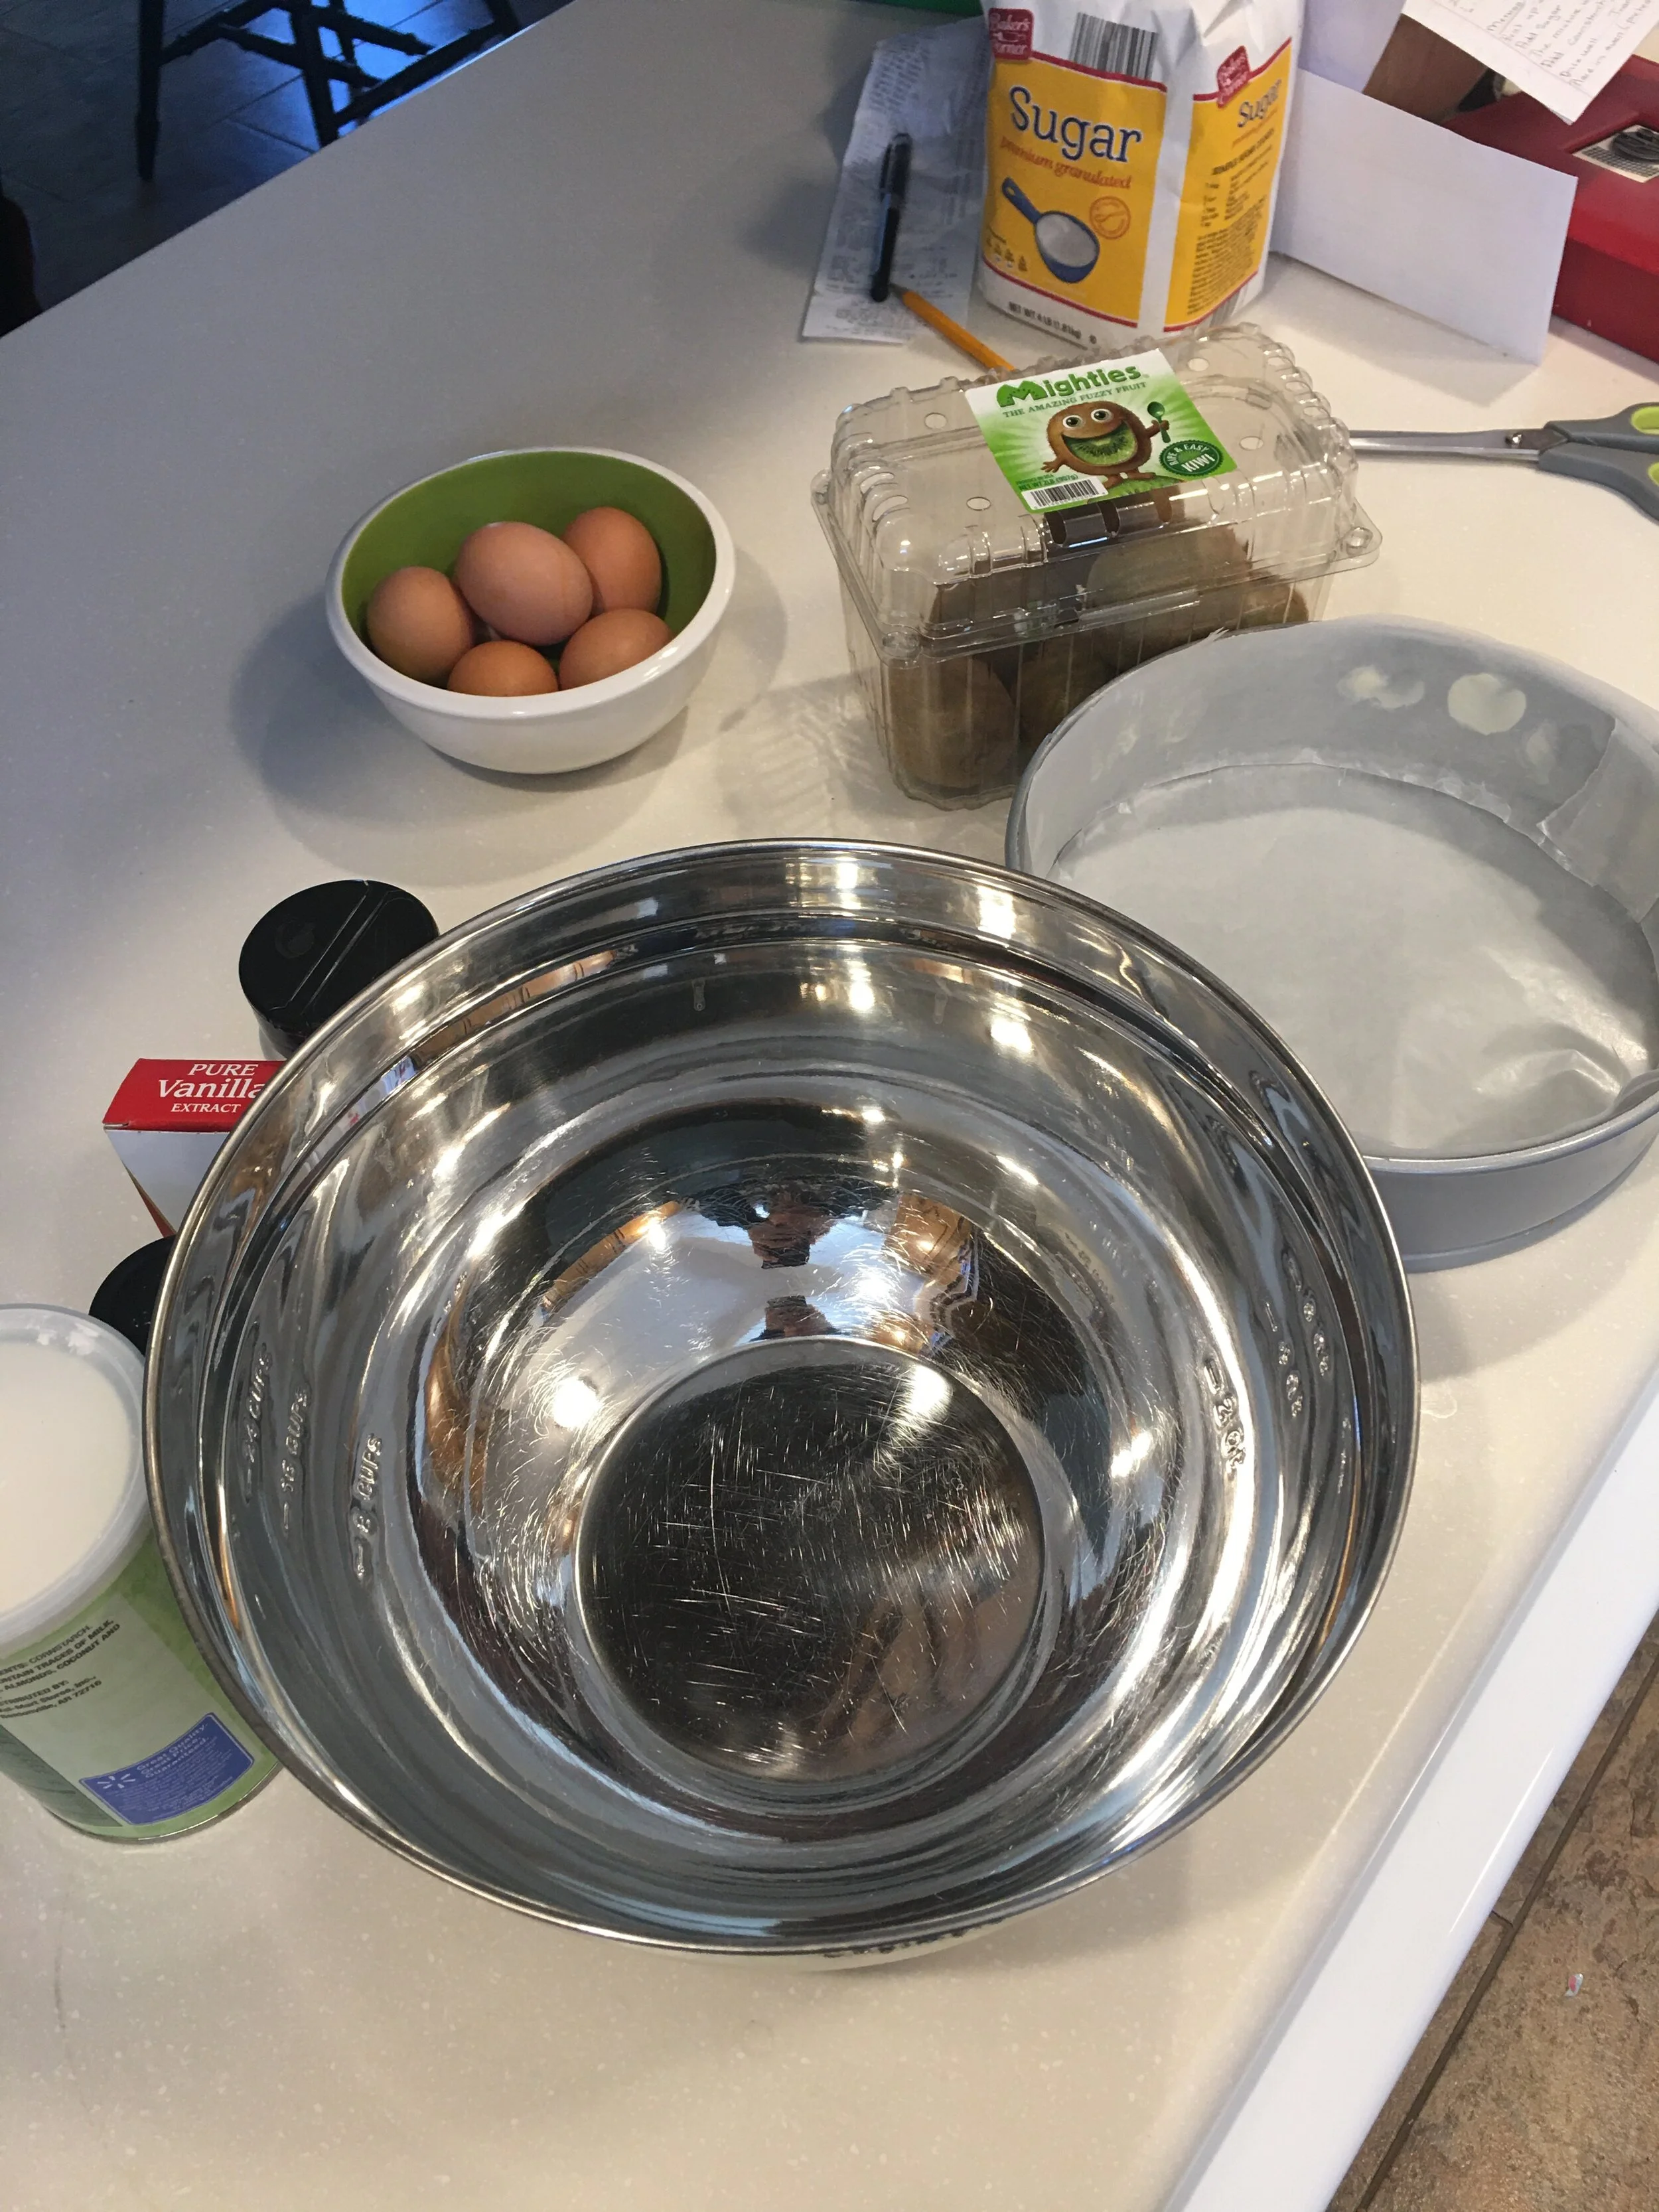
It may have been almost the end of the year, but I decided that Waylin and I were going to make a pavlova for the Bohlen Family Christmas. One of the first things you do is set out 6 eggs to get them to room temperature. This helps with the texture and consistency of the meringue. When they were ready, I set out everything listed on my mum’s handwritten recipe to get started.
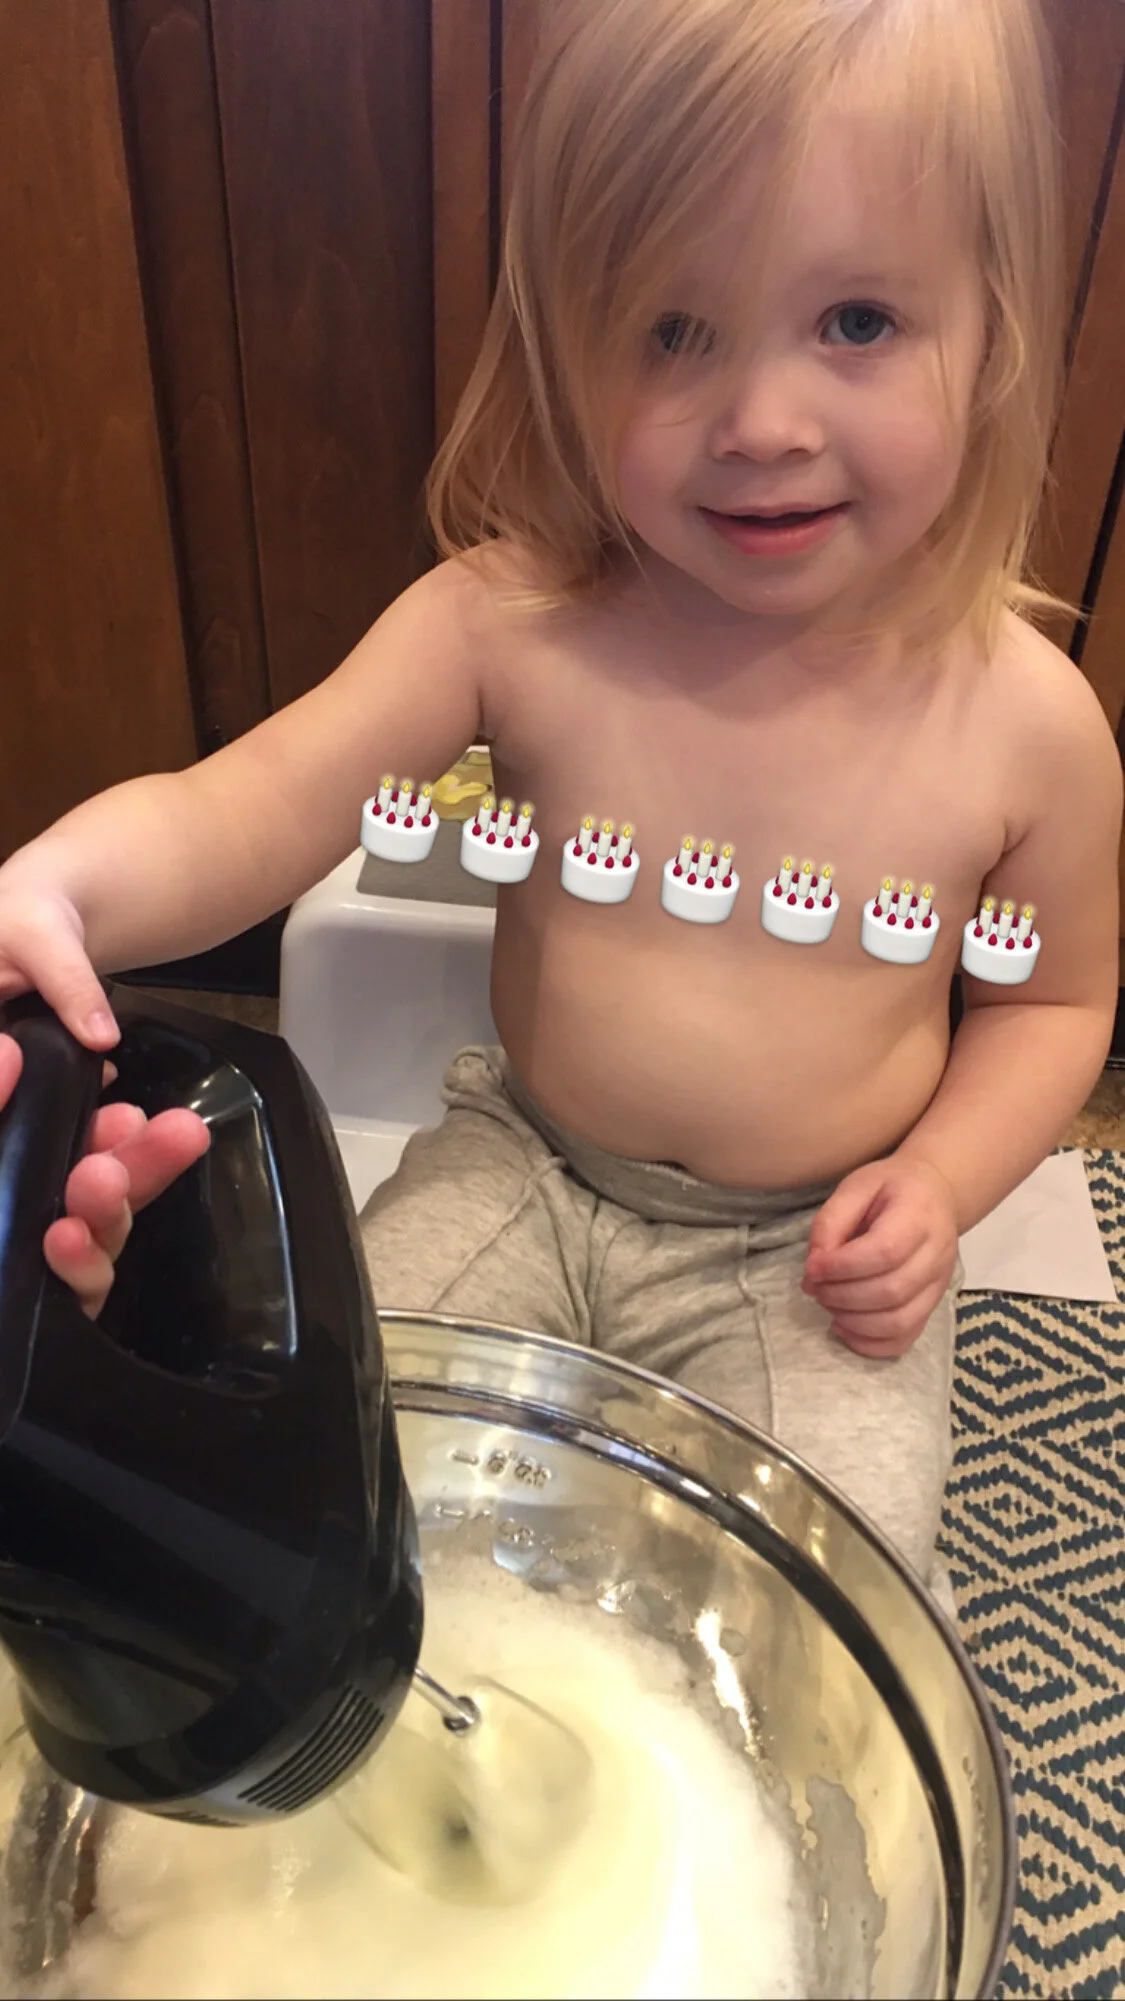
Waylin even helped me whip the egg whites and she enjoyed holding the mixer!
We got the cake into the oven and I remembered my mum saying after you get it in the oven, it’s a good idea to go ahead and whip the cream. so it can chill in the fridge and you have it ready to go! I continued reading the directions and then my heart sunk. My mum wrote one of the ingredients for the whipped cream on the back of the page and not under the Ingredient list. I should have known I needed heavy cream…
SO, I grabbed Waylin and we did the most dreadful thing ever: drove to Walmart on Christmas Eve.
Waylin was in desperate need of a nap and she fell asleep instantly on the car ride over there. She was so tired that she actually slept through EVERYTHING. She slept on my shoulder as I lugged her dead weight body to the absolute back of the store to grab the heavy cream. I don’t know what I expected going to Walmart on Christmas Eve, but the LINES! OMG, the lines were miles long. I seriously almost cried from how heavy she was and how weak my back felt holding her, the diaper bag, and the stupid heavy cream! #ineedtodomoresquats #eatlesscake #justkidding #letsnotgetcrazy.
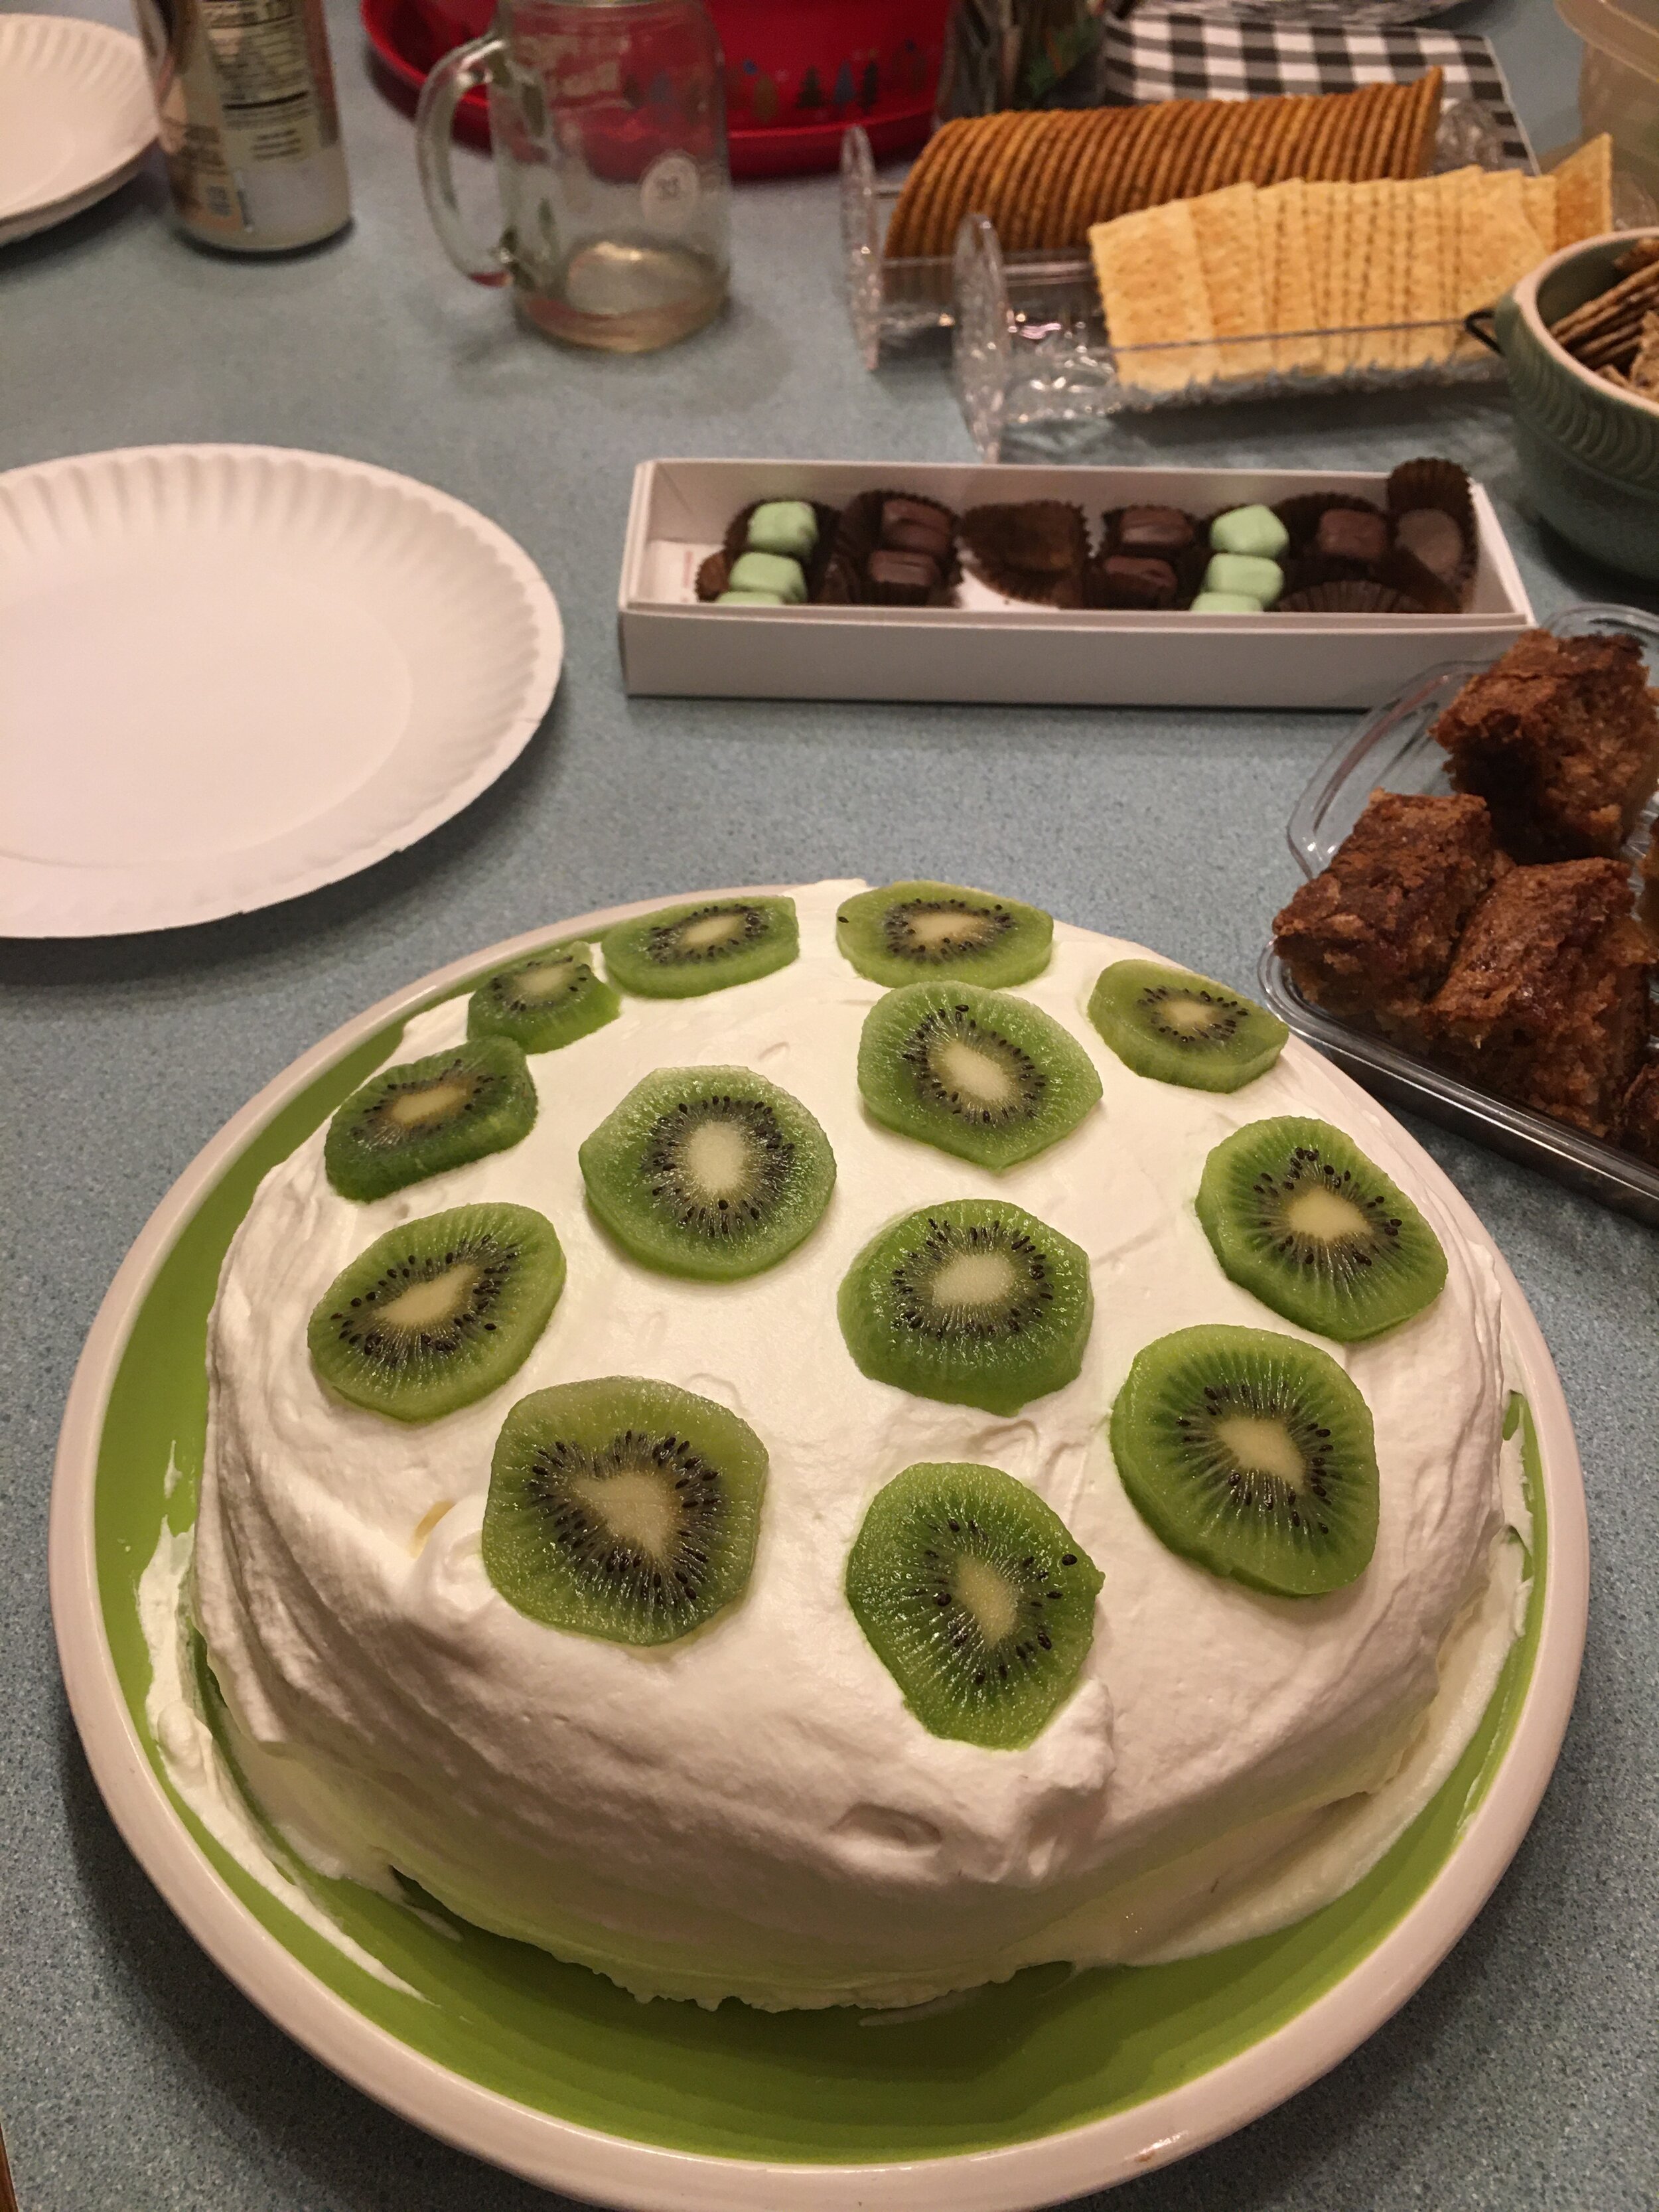
I whipped the cream and survived with back spasms. 😂 And our cake turned out great! I could have made the cream sweeter, but I was trying to cut back on the sugar a little.
As promised, here’s the recipe (and I added the heavy whipping cream to the ingredients so you don’t have to make any last minute Walmart runs!)
Pavlova
Ingredients:
6 Large Eggs (we’re only using the egg whites)
Sugar (our family swears by Bakers Ultra Fine Cane Sugar - definitely use Ultra Fine!)
Cream of Tartar
Corn Starch
Water
Pure Vanilla Extract (don’t use fake vanilla)
Salt
1 Quart of Heavy Whipping Cream
Margarine/Butter
Spring Form Pan
Wax Paper
Preparation:
Set your eggs out on the counter in an open space to bring them to room temperature (approximately 2 hours or so)
When your eggs are ready, set the oven to 225 degrees (low and slow, baby!)
To prep the spring form pan, double up the wax paper and trace the circle piece of the pan and cut it out. Lay it inside the pan. Next, wrap the wax paper from the roll around the pan to get an idea on length for lining the sides of the spring form. Cut your length and then fold the wax paper in half. Dab little bits of margarine/butter around the sides of the pan (not the bottom). This helps keep the wax paper in place (insider’s tip here!). Place the halved wax paper around the inside of the ring of the pan with the fold on bottom. Cut the excess height off the wax paper that wraps around the pan. You don’t need it that high.
Method:
Start beating egg whites in a large mixing bowl until STIFF (You need very stiff peaks…aka if you think you’re close, you’re probably not! Michael Jackson it!) You’ll start adding sugar 4 Tbsp at a time. Now, how much sugar do you need? You should aim for somewhere between 1 1/2 to 2 cups of sugar. I think 2 cups is a little too sweet for me, and have been happy with 1 1/2 or 1 3/4.
Look down at your mixture. Once it starts really glistening, add 2 Tbsp of Corn Starch, 2 tsp of Cream of Tartar, salt (you can use 1/4 to 1/2 tsp depending on your tastes), and 1 Tbsp of water. Keep beating until your peaks are high and tight.
Transfer mixture to your lined spring form pan and place in the oven for 1.5 hours.
This is a good time to make your whipped cream! In another large mixing bowl, pour your heavy whipping cream (1 Quart) into the bowl. Start beating it in the same manner that you beat the egg white mixture…STIFF and PEAKED! You’ll want to add 4-6 Tbsps of the Cane Ultra Fine Sugar and 2 tsp of vanilla extract. If you’re using imitation vanilla, go throw this entire recipe in the trash, because we don’t play around! 🤣
Check your pavlova cake in the oven. The top will be hard, but you should be able to break through it with your hand - it should wobble a little. Once you see the top in this fashion, start reducing the temperature by shutting off the oven and let it sit in the oven until cooled.
Remove the spring form pan and place on a solid surface. Undo the sides of the spring form (the ring) and peel off the wax paper.
Now this is the fun part! Take your cake and place your serving dish (the one you plan to have the cake sit on) on top of the cake. Flip the plate upside down so the bottom circle of the spring form pan is now on top and your cake is sitting on your serving plate. Remove the circle from the top of the cake and peel off the circle of wax paper. You may need to use a knife to pry it up. Don’t worry if you stab it a little! This will be covered with creamy whipped topping and no one will ever seen what kind of murder you committed.
Ensure the cake is cooled down before spooning cream over the sides and top. Smooth it all out like you’ve been running a bakery for years!
Our traditional pavlova always has kiwi fruit on it, but you can use whatever fruit you like! When we slice kiwis and use those, we usually place them on the top and along the sides in a pattern so that if you cut into the pavlova, you don’t have to drag your knife through any fruit.
DEMOLISH THIS CAKE AND START YOUR DIET ON MONDAY! 👍
If you make a pavlova, please comment below and let me know how it went!
#lifeisshorteatmorecake
